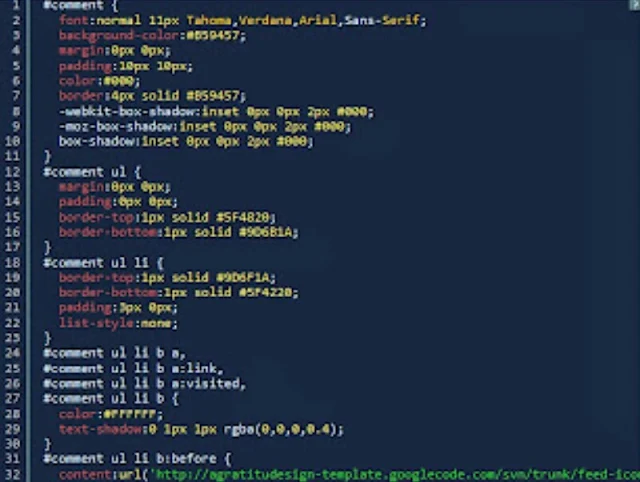
Setting up syntax highlighter on your Blogger blog means you want styled and colourful highlighter code blocks on your site pages.
Before we talk about the steps in setting up syntax highlighter on Blogger site, let us first discuss what Syntax Highlighter is and how it was works.
What is a
Syntax highlighter?
Syntax
Highlighter is a web-based tool used in creating syntax-highlighted code in different
programing languages such as HTML, XML, C, C++, Java, JavaScript, Fortran, and TeX.
This will useful to writing about programming and share sample code either as
syntax-highlighter snippets or whole programs.
How does Syntax Highlighter Work in Blogger?
When you add Syntax highlighter
in your Blogger site, it will carry the source code of your blog post, either
in HTML or Markdown format and convert it into a compiler. The output of the
compiler will be used as if it was your post's text. The plugin created identifies
keywords in the source code and substitute them with HTML tags, CSS to create
styled-coloured beautiful highlighted code blocks.
How to Add Syntax Highlighter in Blogger Blog
follow the following steps carefully to set up syntax highlighter on your Blogger site
Step 1: Log in to your Blogger dashboard
Step 2: Select the site you want to add syntax highligher, if you have more than one blog site on Blogger.
Step 3: Select Themes
Step 4: Click on Backup to backup your site. You need to first back up your site template, incase anything goes wrong in the process of setting up syntax highlighter, you can be able to retrieve your site.
Step 5: After backing up your site, select Customize Theme, Ckick on go to HTML
Step 6: Search for ]]></b:skin> tag by pressing CTRL + F
Step 7: Paste the code below before The ]]></b:skin> tag.
NOTE: Do not copy the CSS default
css
.hljs {
display: block;
overflow-x: auto;
padding: 0.5em;
background: #1E1E1E;
color:
#DCDCDC;
font-weight: normal;
font-size: 1.15em !important;
}
.hljs-keyword,
.hljs-literal,
.hljs-symbol,
.hljs-name {
color:
#569CD6;
}
.hljs-link {
color:
#569CD6;
text-decoration: underline;
}
.hljs-built_in,
.hljs-type {
color:
#4EC9B0;
}
.hljs-number,
.hljs-class {
color:
#B8D7A3;
}
.hljs-string,
.hljs-meta-string {
color:
#D69D85;
}
.hljs-regexp,
.hljs-template-tag {
color:
#9A5334;
}
.hljs-subst,
.hljs-function,
.hljs-title,
.hljs-params,
.hljs-formula {
color:
#DCDCDC;
}
.hljs-comment,
.hljs-quote {
color:
#57A64A;
font-style: italic;
}
.hljs-doctag {
color:
#608B4E;
}
.hljs-meta,
.hljs-meta-keyword,
.hljs-tag {
color:
#9B9B9B;
}
.hljs-variable,
.hljs-template-variable {
color:
#BD63C5;
}
.hljs-attr,
.hljs-attribute,
.hljs-builtin-name {
color:
#9CDCFE;
}
.hljs-section {
color:
gold;
}
.hljs-emphasis {
font-style: italic;
}
.hljs-strong {
font-weight: bold;
}
.hljs-bullet,
.hljs-selector-tag,
.hljs-selector-id,
.hljs-selector-class,
.hljs-selector-attr,
.hljs-selector-pseudo {
color:
#D7BA7D;
}
.hljs-addition {
background-color: #144212;
display: inline-block;
width:
100%;
}
.hljs-deletion {
background-color: #600;
display: inline-block;
width:
100%;
}
Step 8: Search </body> tag by pressing CTRL + F.
Step 9: Now Copy and Paste this Javascript Code above the </body> tag.
NOTE: Do not copy xml default code. Copy from <script
xml
<script src='https://cdnjs.cloudflare.com/ajax/libs/highlight.js/10.5.0/highlight.min.js'/>
<script>hljs.initHighlightingOnLoad();</script>
<script src='https://unpkg.com/highlightjs-badge/highlightjs-badge.min.js'/>
<script>
//<![CDATA[
setTimeout(function(){for(var
e=document.querySelectorAll("pre>code"),o=0;o<e.length;o++)hljs.highlightBlock(e[o]);window.highlightJsBadge({contentSelector:".container",loadDelay:0,copyIconClass:"fa
fa-copy",checkIconClass:"fa fa-check text-success",onBeforeTextCopied:function(e,o){return e}})},10);
//]]>
</script>
javascript
<div
class="container" style="margin-top: 20px;">
<pre><code class="hljs" id="code"> <!---
Enter your Code --> </code></pre>
</div>
